4/29/11

Moving to Colorado....

Some of you might have tweaked when you read the title because you know The Mr. and I are in Colorado withdrawl. (Mark sure misses his days there! How can one not!) But we’re only moving there with a .000009 percent chance. 

Yes! We’ve entered to win HGTV’s Green Home which is located outside of Denver, Colorado. Mark says it’s our destiny! I laugh. He proceeds to use a very low voice and say that I have the blessing of the Lord upon me and that I, in addition to him, need to enter to win. And then I really laugh! 

But seriously, we've both entered. This COULD be our Home that Awaits Us! We're just waiting.

 Oh, Colorado.....

 Sign me up!

 I'm ready!

This IS our destiny!!!

You gotta check out the details and pics here
BUT you are not aloud to enter to win!

4/28/11

Bedroom Progress

Or Lack Thereof...
I am in the process of redoing (well making it enjoyable for the first time) my bedroom. So far I’ve taken all the red and orange out! Hallelujah! I bought a new muted gray duvet, created a diy chandelier, and rearranged my closet (may be my favorite so far). I can honestly tell you that color has a huge effect on the mood of a room. I often find myself laying on top of my bed because of the warmer and cozier feel. Although the room looks pretty empty, it will eventually feel a little more put together. I have been doing a lot of Goodwill, Craigslist, thrift store looking. I’m kinda tired of it. (This is when my cheapness gets annoying!) I know what I’m looking for but I haven’t commited to anything. Yikes! I thought I would share my ideas with you. (Hoping this will encourage me to seal the deal on some pieces.)

A new duvet started the process.

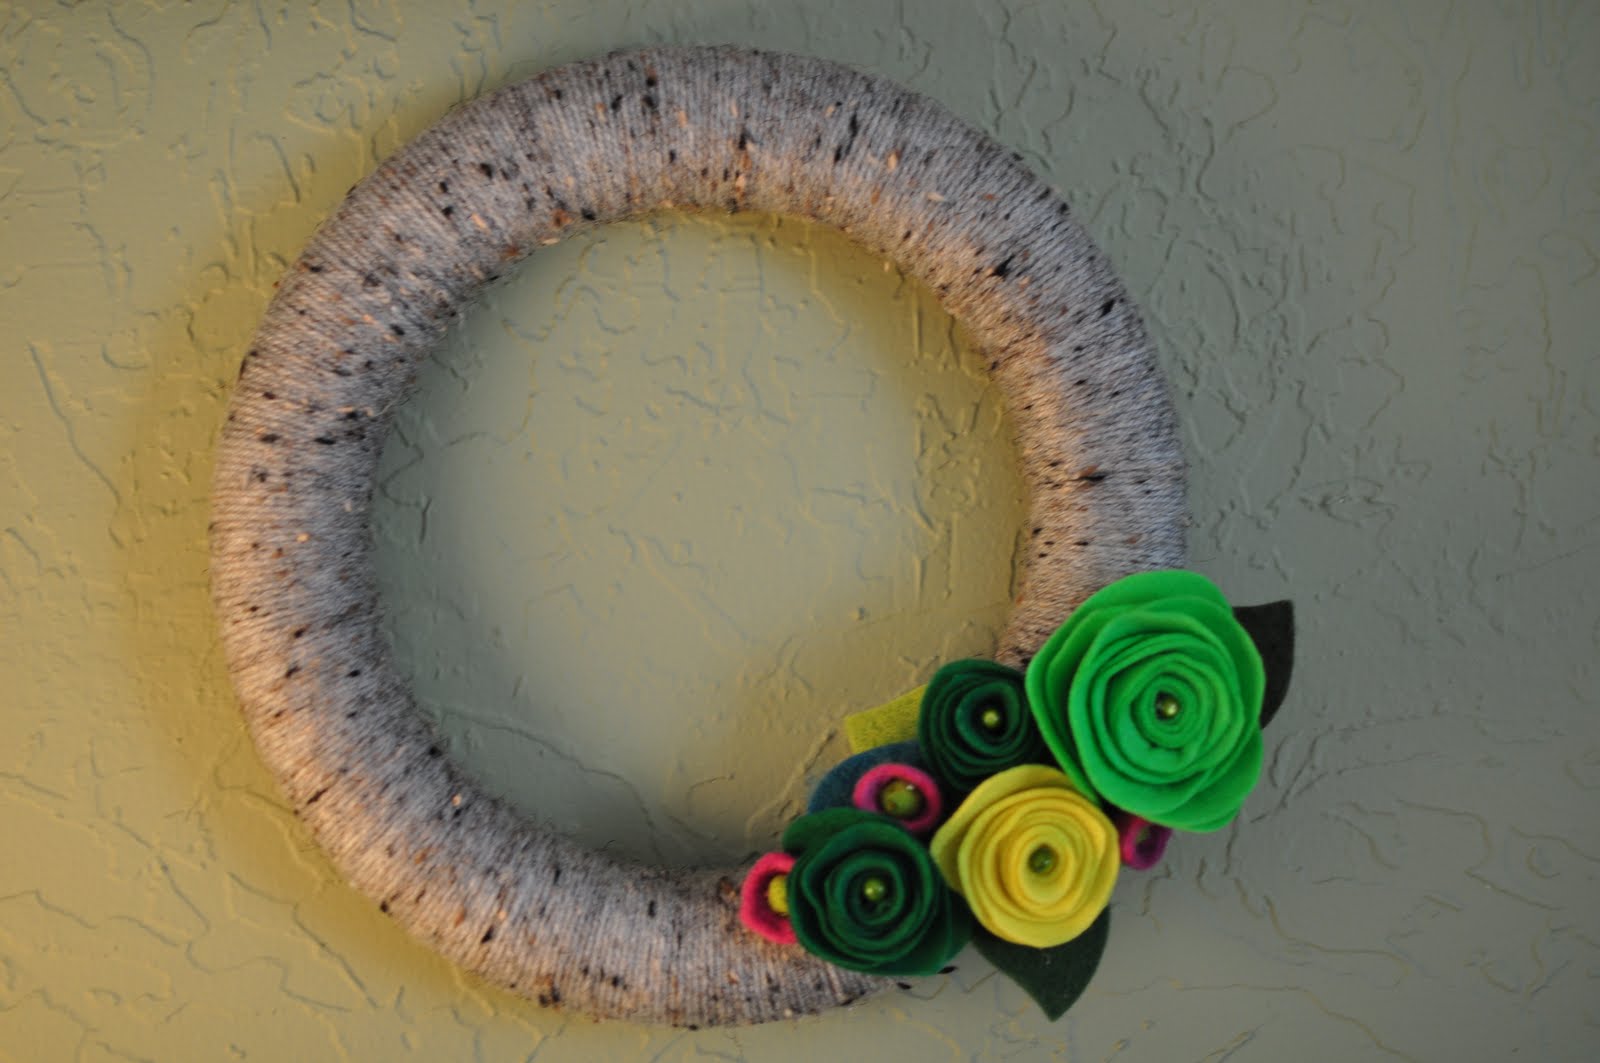
And then I made a chandelier out of wax paper and embroidery hoops.

Disaster strikes! Old and new combined.

Then I rearranged my closet. Oops! Forgot the after shot, but it's sooo much better! Trust me!

And that's as far as I got.....Boo..

Here's some ideas of some future possibilities:

Love these curtains from West Elm.

I asked my dad if he would make this for me. I even considered making it myself...

I would love to get rid of the tower fan we have by our bed and replace it with something like this
(Hunny, I love you but I think it's time.)

I think a starburst mirror would be a perfect focal point above my bed. This one is stunning!


Nightstand reading lamps found at Pier One
(Why didn't I get these when I worked there last summer?!?!)


All you non-modern fans might call me crazy. 
Perfect for the desk and small space?

What am I stuck on?

Nightstands
 I want something airier looking, taller than normal, and cheap. That combo is almost impossible!

Color
I can't decide on accent colors! Yellow is great with the gray but everyone's doing it. Lavender is beautiful but I don't think I can get The Mr. to give two thumbs up to it. I love green but do I need a break from the color...

I DO love seafoam green with it! This picture stunned me as an inspiration for color. Now I just gotta find the right pieces.
Thank you for this Crate and Barrel.

4/27/11

Living Room Set-Up


Take a look at your living space. What do you notice? How is your furniture positioned? I bet the couch is facing the tv. Am I correct? Rightfully so!

This may be old news to some but to others this might be just the thing you realize your space needs. Depending on the size of your space, consider breaking the room up. The couch, chairs, and tables do not have to be touching a wall. It’s ok to have more than one space for conversation. You can always rearrange furniture for a large gathering. If pulling the couch away from the wall scares you, put a console table behind it. It’s perfect for eye level lighting. 


The Nest Home Design book shows some arrangements that are helpful. Due to my scanner not working I can't provide them for you but I can provide you with this great slideshow from BH&G on living room layout. Check it out here!

Don’t forget to consider the traffic flow before you move anything. Tape it off if you have too.


I would love to collect before and after pics if you were to try this out! Send them to me at homeawaitsus@gmail.com. You can also send me picture of your furniture groupings. I love seeing the real deal spaces and places in which you live. 

4/26/11

Chevron

No, I’m not talking about the gas station. I AM talking about the chevron design pattern. 

It’s everywhere in blog land and I’m loving it! It’s the perfect addition to a modern room. Here’s some inspiration photos for you! Buy it in fabric design, rug, table linens, curtain panels, or lampshades. Options are endless but beautiful! If it’s too geometric for you put it behind a solid pillow or turn it into a small accent piece. (Maybe a trash can in the bathroom, hmm!) I think every house deserves a little love from chevron! 


Ok, I guess I can stop now. There's a lot out there! I need to get my hands on something with chevron. It might be perfect addition to the bedroom!

4/24/11

Skipping out of Goodwill

I often browse the local Goodwill stores. Lately, I’ve been pretty disappointed with my outings.  Most items were overpriced or not in good enough shape. Last week I stopped at the closest Goodwill to check and see if there was anything I could use for nightstands in my bedroom.  Unfortunately, I wasn't having much success until I headed to the linens row. To my surprise, I came across some great options (not for my bedroom)! There were some stunning colorful table cloths and fabric napkins. I couldn’t resist with a price of .49 cents and $2.99. (I may have skipped out of Goodwill with my $9.03 purchase!) After the successful Goodwill purchase I wished badly that I had an Easter table to set. Maybe next year.


I had to see what they would look like. Beautiful indeed!


Score!


Remember when I shared my love of table settings? I have decided I am going to collect table linens so I have them when I need them. I was pleased when checking blog land the other day that one of my favorite bloggers, Anne-Marie at 10 Rooms just posted about cloth linens. Check out the inspiration here. I fully anticipate buying some fabric fat quarters to make my own napkins!

4/21/11

DIY Awesomeness: Book Wreath

The week has gone fast but I hope you have enjoyed the projects from my lovely friends. Let me just tell you I can think of lots more friends with lots more projects. I love the inspiration!

Today's hot project is one that is highly recommended to you! 
I'm proud to introduce you to not only a fellow blogger friend but an old Camarada Comrade (aka Christian sorority,if you want to call it that) of mine, Carrie Liles!
Carrie has a creative mind is highly inspired by things around her. You gotta check out her blog, Life of the Liles for her recent and fun happenings with hubby, Todd. 

Carrie on beautiful book wreaths:

After seeing book wreathes pop up all over blogs, I knew that I wanted to join the crowd and make one for myself...so I did!  I was worried that mine wouldn't look very good but the more I got in to it I realized that it is one of those things that doesn't require perfection (which is good for me!).  It was fairly easy but it was time consuming...which I didn't mind...I just threw a classic romance movie in for fun background noise and got to work with my hot glue gun! 

Supplies:
-hot glue gun
-cheap novels (think Goodwill)
-a little dab of brown paint (I used some gray as well)
-foam wreath


14 inch wreath and 10 inch wreath

Directions:
Like I said earlier, these wreathes have been popping up all over the Internet...so I used Living with Lindsay's directions!  Thanks lady...you made it so easy for me!!  She made such an incredible DIY video!

There are only 2 things that I did differently from her:

1.  She used a 10 inch foam wreath to start with and I went for the big mama 14 inch foam wreath.  I knew what wall I eventually wanted to put it on so I wanted it to be a bit bigger.  The only difference is that is required more pages.

2.  And speaking of pages...I didn't just use a random book...knowing me I knew that I would constantly be bothered if it was a bunch of random pages that have no meaning to me.  So I decided to use a (very) old dictionary and thesaurus that I found at Goodwill.  I think words are fun and maybe every time I look at the wreath I will find a new word.  I also liked that since the pages were older they had a nice color to them.

Taaaadaaaa!  
Not perfect, but hey that's what makes it unique to you!


Beautiful Carrie! Would have thought you bought it. 
Now that you're impressed, go check out her blog!


On a side note, I hope you have a happy Easter! Can't wait to get back next week!

DIY Awesomeness: Fabric Art

Going on the fourth day of DIY Awesomeness Series, I am proud to present a cost saving project from one of my closest and dearest friends, Brienn Darr! 


This girl loves DIY projects and is not afraid of any of them! (Like her couch and love seat she found on Craigslist for $50 which she is hoping to reupholster.) Brienn lives in Indianapolis with her husband, J.J. and dog, Moe.Together they brainstorm and master some major house projects!

Check out Brienn's easy idea for wall art:

Do you have blank walls that need some fun art? Well, usually my husband and I agree on most decorating ideas, but we just couldn’t agree on wall art. So, our walls stayed sad for a little while until we decided to look for some fabric and make our own art. We looked online and found some we really liked from Ikea and we knew we would be traveling up to Chicago sometime, so we could pick it up! So here’s our super easy, and cheap (for art that is) fabric art project. Enjoy!

Materials Needed:

Fun Fabric that you LOVE!
Canvases – from stores like Hobby Lobby
Staple Gun
A partner to help hold the fabric tight

Pick out your fabric. We picked some fun gray and white fabric with curvy lines and then some yellow and white stripes to even out the curves on the gray. Even Moe loves the fabric!


Buy your canvases. We went with craft canvases from Hobby Lobby that were on sale. You could probably just use a wooden frame – but we liked the idea of having the canvas already stretched across the wood so it would create a smooth finish with the fabric.

Next, iron your fabric if needed!

Then lay your fabric out and place your canvas on top. Before you cut and staple – carefully look at the other side to see what is centered. With our gray fabric – we tried to get certain canvases with larger designs and then some with smaller designs. With the yellow striped – we wanted to make sure everything was straight. Once you find where you want it, carefully cut around the canvas leaving extra inches on each side so you can staple it to the back of the canvas.

After that line up your fabric again and double check it is where you want. Then, staple one side of the fabric, making sure everything is staying straight on the front. The second edge we stapled was the edge opposite the first. This is where a second person comes in handy so they can hold it tight while you staple! Keep pulling tight and stapling around. The back doesn’t have to look pretty, so staple as much as you need!
Finally hang it! And just think, if you “grow out” of the fabric style in a couple years, you don’t have to feel bad about changing it because you didn’t spend a lot of money!


Simple enough Brienn! Thanks for showing us how to not only fill our walls but save some serious cash. These are especially great for college door rooms, apartments, or transitional pieces. Nice work, friend!

4/20/11

DIY Awesomeness: Play Tent

Have you been enjoying the DIY posts this week? I sure have! Today's DIY project is stunning in a cute way. Taken from Land of Nod, (Crate and Barrel children's store) this project is totally within reach. 

I would like to introduce you to the fabulous, Holly Hency! She just moved from Seattle back to Indianapolis with her hubby, Nathanael and her 60 lb. dog Raleigh. Holly has some mad skills! Holly's an artist at heart! You gotta check out her children's play tent she created for her nephew.

Materials:
  • hula hoop
  • different patterns of fabric (with lots of coupons from Joann Fabrics)
  • sewing machine/pins/scissors

 I wanted my play house to have more of a circus tent feel. I choose a red gingham for the large panels, red with stars for the top, and light blue with small white dots for the flags. 

Here are some photos of my progression.

 First I hemmed the edges.

 I traced and cut the flags. I kept them connected to save myself time later.

  I measured the diameter of the hula hoop to know how many I needed. I sewed them together.


The majority of the time for this project was hemming the edges of the large panels and sewing them together.

The most difficult part was figuring out the math for the triangles along the top to all come together. After much persuasion from my mother I did make a practice run out of newspaper before cutting the fabric for the top. I choose not to do windows because Reid is short and wouldn't be able to see out of them anyways. The Land of Nod also had a recall on the windows being a choking hazard, so overall was a good choice.


 Ta-Dah! $40

Thank you, Aunt Holly!


I think I need to step it up a notch when it comes to the aunt department. Thanks Holly for showing us it CAN be done!
For her post on this project, see her fun blog.

4/19/11

DIY Awesomeness: Yarn Letters

I hope you were able to check out Lena’s project from yesterday’s post. If not check it out here. Today’s DIY Awesomeness series continues with Amy’s stunning yarn letter.


Amy lives in the sunny state of Albuquerque, New Mexico with her hubby and new baby  girl, Audrey. Amy has the coolest job ever- landscape architect. Amy’s house is filled with beautiful things and one of those lovelies is a brilliant DIY project. Check it out!

Here's Amy on getting crafty with yarn:                                         

Yarn Wrapping How-to:

1. Head to your nearest craft store in search of some fun items to wrap in yarn.  After searching up and down the aisles I decided upon the letter A (for my daughter, Audrey's, room) and a foam wreath for our guest room.  I purchased one spool of yarn for each item, but there was plenty of extra yarn that you could easily have shared one spool.  I also purchased a few 8.5 x 11 sheets of felt for the flowers.  

2.  After hot gluing the yarn to the letter to keep it in place, slowly wrap the item.  It's good to put on a movie, as this part of the craft could take a while!  Once the item is wrapped, it's time to start adding the embellishments.  I've seen many clever items added from painted wooden letters, to buttons, to flowers.  I decided upon homemade felt flowers. 


3.  Making felt flowers is actually quite easy and such fun.  Cut your felt into a large circle with slightly wavy edges.  Then cut the circle into a long spiral starting at the outside and working in.  Once you have cut all the way to the center, it's time to get out the glue gun.  Starting at the center of the circle (the end of your spiral) roll the spiral from the inside out.  Once you've rolled the felt all the way up, glue it to your yarn item.


This easy craft is very inexpensive but be prepared to have everyone you know wanting one!


How can you not be inspired by this easy project! I’m impressed. Thanks for sharing with us Amy! Time to go dig in the drawer for some yarn!

4/18/11

DIY Awesomeness: Toilet Paper Art

You’re in luck!
I have some pretty amazing friends who have some creative Do-It-Yourself projects.  Inspired by those around me, I begged them to share their awesomeness with you. This week I will be posting all the dirt on these fun projects. Get ready! It’s going to be fun!

Starting off Monday strong, from a Russian American, lake house living girl---Lena!


Lena Winn lives in Winona Lake, Indiana and loves creating DIY lovelies. Her and a good friend just started a fun blog on home, design, and fashion. You would be fool to not check it out!

Here’s the dirt on Lena’s easy and innovative toilet paper wall art:

Materials:
·         cardboard part of the toilet paper roll (I posting a request as my status on Facebook, people were willing to give it to me :))
·         regular acrylic paint
·         paint brush

 Paint the rolls and let them dry. (Do this a couple of times.)

Bend the rolls lengthwise and cut into thirds. (FYI-Cutting into 4 pieces would make the thing not stick out as much from the wall.)

Staple the pieces into a pattern. Super glue will work too.

Note: I painted mine brown and only painted on the outside, but obviously that's a matter of taste. 


Talk about making something work! Trash to treasure, gotta love it! Thanks Lena for sharing your fun project! Make sure to check out her blog, Natty Nook.